How Can We Help?
Templedit
Plugin Configuration
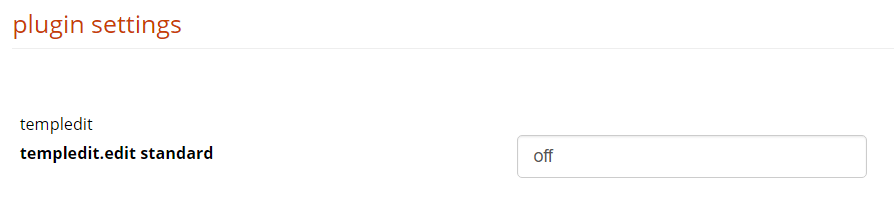
Plugin settings are available under
Admin > Settings > Plugin Manager > Templedit - Settings.
Here you can activate or deactivate the possibility to edit the forma standard menu.
We strongly recommend to leave this option to “off”.
Creating a new template
At your first access, if you don’t have any other custom template, the select menu (2) will be empty. Create a new template by entering the template name and click “add template (1). The new template will be an exact copy of the forma standard template.

Once one or more templates have been created, they will be listed in the select menu (2)
Editing a template
Choose a template from the dropdown list and click “select”.
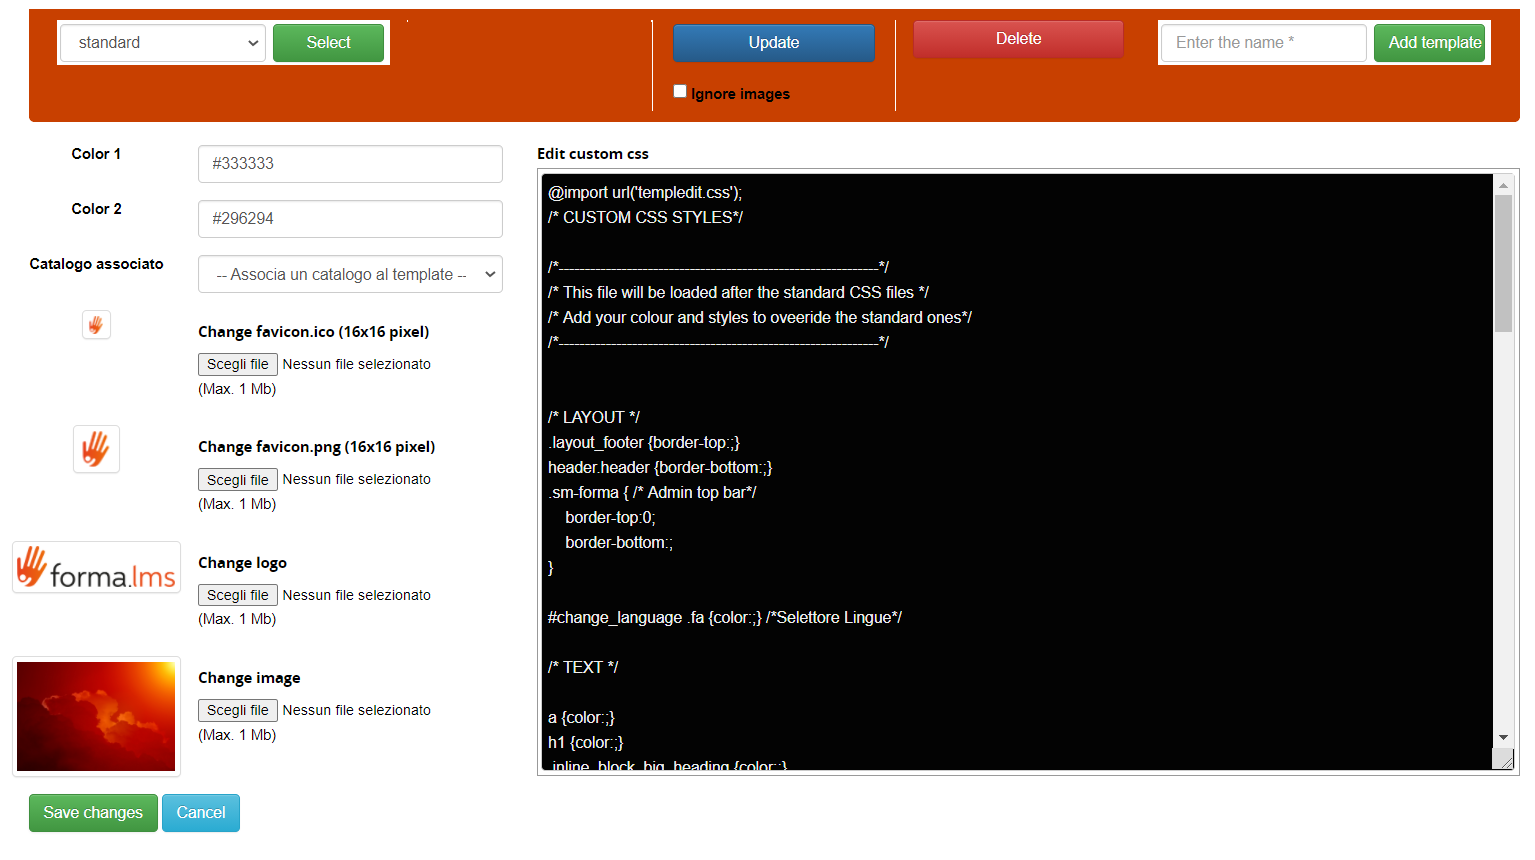
From this page it is possible to:
- Set template base colours:
- Color1: main template elements, i.e.. navigation bars and titles
- Color2: secondary elements, ie active menu items, buttons, highlights,
- Upload logo, cover image and favicon
- Edit the custom.css file: all the styles in this file will override the standard classes, and the colors set in templedit.
Note: don’t remove the first line @import url(‘templedit.css’); that is added upon template first save
Update a template
When Forma Lms is updated, fixes and improvements are added to the standard template.
Click the “update” button to keep your custom templates aligned with the standard template:
- The styles and layout files will be copied from the standard template to your custom template, overriding the old files
- Images, custom.css and templedit colors will be preserved